As an Amazon Associate I earn from qualifying purchases.
After printing thousands of homeschool resources over the years, I’ve learned that beautifully prepared materials can transform a learning session. The difference between a printable that excites your child and one that ends up crumpled at the bottom of a backpack often comes down to how you print, cut, and present it.
This guide combines my hard-earned tips with the exact steps I recommend for printing homeschool PDFs flawlessly — including must-know advice about using Adobe Acrobat Reader for the best results.
Why Quality Printing Matters in Homeschooling
You know that spark in your child’s eyes when they receive a colorful, sturdy worksheet? That’s why I take printing seriously. Poor-quality prints fade, curl, and tear quickly — wasting both your money and effort. With the right tools and a bit of prep, you can create materials that last, look professional, and invite children to engage.
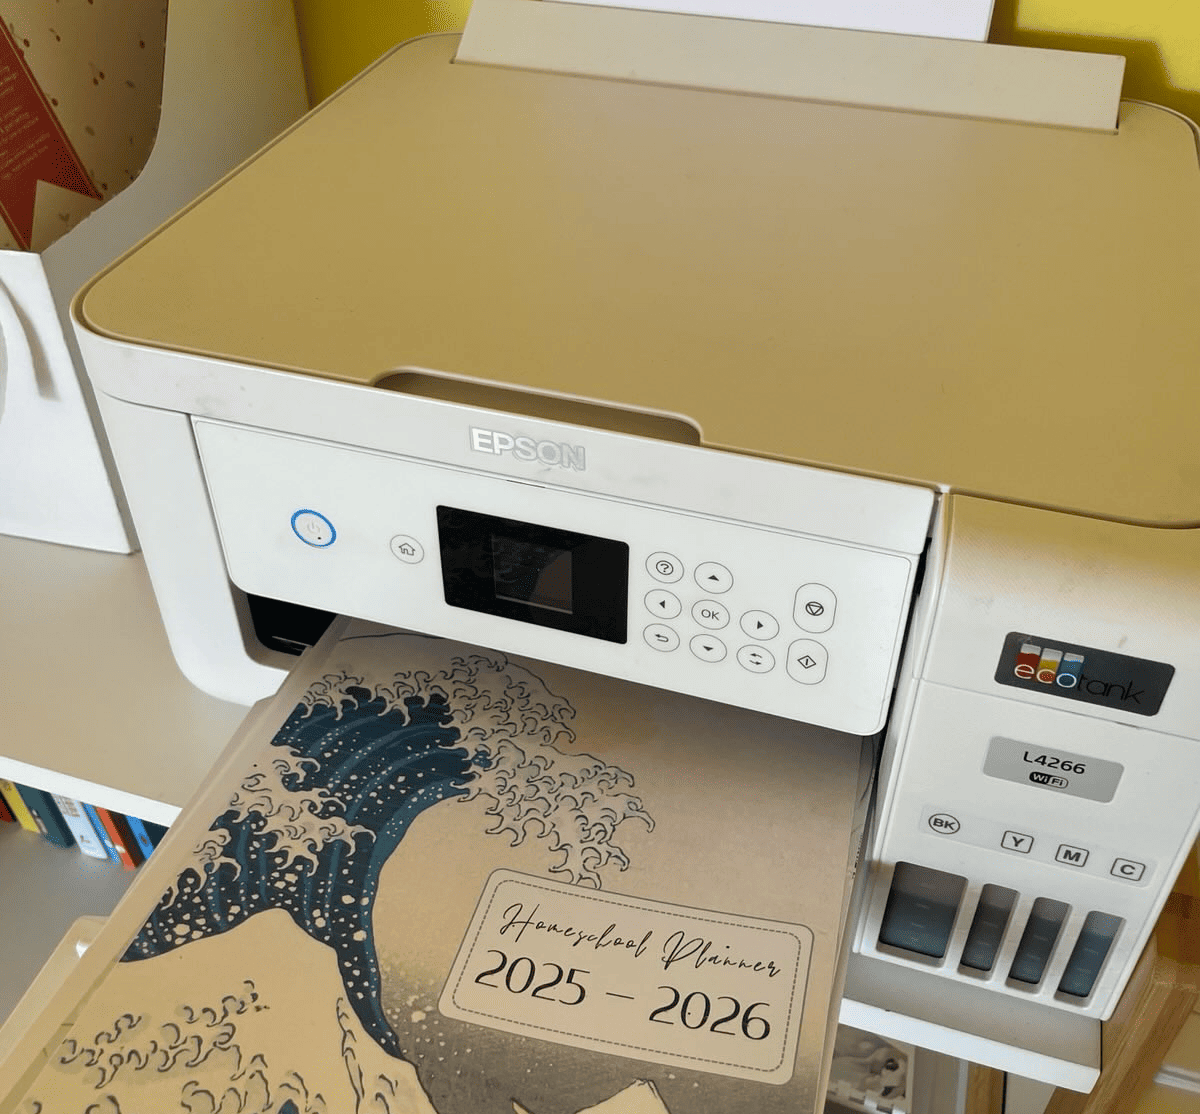
Step 1: Choose the Right Printer
I swear by Ecotank printers — my go-to is the Epson Ecotank L4266 (a US equivalent is Epson EcoTank ET-2850). Here’s why:
- Long-lasting ink — print for months without refilling
- Automatic double-sided printing — perfect for workbooks and activity packs
- Vibrant colors — makes even math manipulatives look exciting
Yes, the initial cost is higher, but it pays for itself fast.
Step 2: Pick Paper That Elevates Your Printables
Your paper choice makes a huge difference. My all-time favorite is Xerox 100gsm (equivalent to 28lb paper in the USA). It’s smooth, substantial, and holds color beautifully without bleed-through.
US alternatives:

Step 3: Open & Print PDFs Correctly
Always use Adobe Acrobat Reader when opening and printing digital files — never print directly from your browser. Other PDF readers (and especially browser printing) can distort images or add unwanted artifacts.
Mac users: Avoid using Preview — set Adobe Acrobat Reader as your default PDF viewer for the best results.
You can download Adobe Acrobat Reader for free here.
Before printing:
- Review the file and note any special instructions (e.g., double-sided printing).
- Decide which pages to print and check their orientation.
- In print settings, set scaling to 100% to avoid shrinking or enlarging the design.
- For vibrant materials, choose “High Quality” or “Photo” mode (even on plain paper).
Step 4: Prep Your Workspace
A clean, well-lit space will make the whole process smoother. Have your supplies within reach:
- Paper trimmer
- Scissors
- Corner rounder
- Laminator & pouches (3–5 mil) — only for high-use resources
- Binding machine (optional)
Step 5: Cut & Finish Like a Pro
- Use a rotary paper trimmer for crisp, straight lines.
- Round corners for a polished, child-safe finish.
- Cut in smaller batches to maintain precision.
- For lamination, cut first, laminate, then trim again leaving a small laminate border to prevent peeling.
Step 6: Laminate Only When It’s Worth It
Lamination extends the life of high-use resources, but it’s not always necessary. For single-use worksheets, high-quality cardstock is usually enough.
For reusable activities:
- Use 3–5 mil pouches
- Let the laminator heat fully before starting
- Feed sheets slowly for bubble-free results
Alternative: Use sheet protectors with wet-erase markers for repeat practice without lamination.
Step 7: Store & Organize for Easy Access
Once printed and prepared:
- Store by subject in labeled folders or binders
- Keep small pieces in clear containers
- Use sheet protectors for quick-flip reference materials
Pro Tips to Save Time & Money
- Buy paper in bulk during sales
- Use print preview to avoid mistakes
- Print double-sided where possible
- Keep an inventory of supplies so you’re never caught short
Final Thoughts
Investing in a good printer, quality paper, and a smart preparation process will pay off in the longevity, beauty, and engagement level of your homeschool materials. Beautiful materials send the message that learning is important — and that’s something worth printing perfectly.