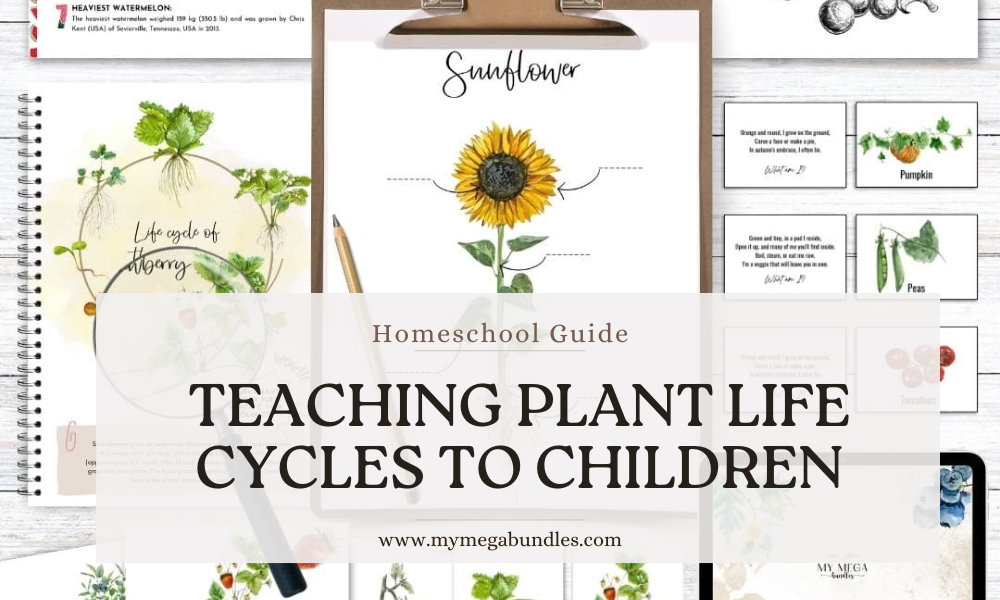
Teaching Plant Life Cycles to Children: A Hands-On Homeschool Guide
Key Takeaways
- The five stages of the plant life cycle are seed, germination, seedling, mature plant, and pollination/seed dispersal.
- Hands-on activities, such as sprouting seeds in a zip-lock bag or pressing wildflowers, make each stage concrete and memorable for young children.
- A simple seed germination experiment using beans or sunflower seeds can be completed at home with everyday materials in under two weeks.
- Printable study guides and nature journals help children record observations and build lasting science vocabulary alongside their experiments.
If you've ever watched your child press their face against a jar trying to spot the first curl of a seedling root, you already know how captivating plant life can be. The plant life cycle is one of the most rewarding units you can teach in a homeschool because it's tangible, it's seasonal, and it grows right alongside your child. Whether you're covering botany for the first time or looking for fresh activities to deepen what your little one already knows, this guide will walk you through every stage, including what to do, what to say, and exactly which materials will make the learning stick.
This post covers the five stages of the plant life cycle, age-appropriate activities for each stage, a complete seed germination experiment with step-by-step instructions, and answers to the questions parents ask most often about teaching this topic in 2026. You'll also find secondary keywords woven throughout, including plant life cycle activities, teaching plant life cycles to children, and seed germination homeschool projects that actually work.
What Are the 5 Stages of the Plant Life Cycle?
The plant life cycle describes the complete journey a flowering plant takes from seed to seed production. There are five main stages, and understanding each one gives children a clear mental model they'll return to for years.
1. Seed: Every flowering plant begins as a seed. Inside the seed coat is the embryo, a tiny plant waiting for the right conditions. Seeds can remain dormant for months or even years until warmth, moisture, and oxygen signal that it's time to wake up.
2. Germination: This is the moment a seed cracks open and sends out its first root (the radicle) and first shoot. Germination requires water, oxygen, and the right temperature. According to Penn State Extension's plant life cycle resource, most annuals germinate when sown in spring and grow steadily through the summer months, making spring an ideal time for this unit.
3. Seedling: Once the shoot breaks through the soil and the first leaves appear, the plant becomes a seedling. At this stage it begins making its own food through photosynthesis, using sunlight, water, and carbon dioxide.
4. Mature Plant: As the plant matures, it develops its full root system, stem, and leaves. Flowers appear, which are the plant's reproductive structures. This is the stage children find most visually exciting because they can observe color, scent, and pollinator visits.
5. Pollination and Seed Dispersal: Pollen must transfer from one flower to another, whether by wind, bees, butterflies, or birds. Once fertilized, the flower produces a fruit or seed pod. Those seeds disperse through wind, water, animals, or gravity, beginning the cycle again.
Our Plants Life Cycle Series ($12) covers every one of these stages with illustrated printables, vocabulary cards, and narration pages designed with intention for children ages 4 through 12.
The 5 Stages at a Glance: Activities and Age Appropriateness
Use this comparison table as a quick planning reference for your homeschool botany unit.
|
Stage |
Description |
Hands-On Activity |
Best Age Range |
|
Seed |
Dormant embryo inside a protective seed coat |
Seed sorting tray; examine seeds with a magnifying glass |
Ages 3–10 |
|
Germination |
Root and shoot emerge when given water, warmth, and oxygen |
Zip-lock bag sprouting experiment (beans or sunflower seeds against a window) |
Ages 4–12 |
|
Seedling |
First leaves appear; plant begins photosynthesis |
Plant seedling in a pot; label and measure growth weekly |
Ages 5–12 |
|
Mature Plant |
Full leaves, stem, and flowers develop |
Nature journal sketch of a flowering plant; pollinator observation log |
Ages 6–14 |
|
Pollination & Seed Dispersal |
Seeds form and travel to new locations |
Dandelion seed dispersal activity; seed collection walk |
Ages 4–14 |

How Do You Teach Plant Life Cycles to Children?
The most effective approach combines observation, narration, and a simple experiment. Children learn best when they can touch, watch, and record, so rather than presenting the life cycle as a chart to memorize, build the unit around a real plant your family grows together.
Start by reading aloud a simple overview of the cycle using illustrated materials. Then introduce the seed stage hands-on by opening a bean seed after soaking it overnight so your child can see the embryo inside. Move through each stage as your plant grows, pausing to sketch, label, and discuss what you observe.
Connecting the Stages to Real Time
One of the most beautiful aspects of this unit is that the life cycle maps onto the seasons. You can begin germination indoors in late February or March, move seedlings outside in April, observe flowering and pollinator visits in May and June, and collect seeds in late summer or fall. This seasonal rhythm gives the learning a natural pacing that feels deeply satisfying.
For families building a complete spring nature study, our post Spring Nature Study for Homeschool Families pairs beautifully with this unit and offers additional outdoor observation ideas across the whole season.
Using Narration to Deepen Understanding
After each observation session, invite your child to narrate back what they noticed, either verbally, through drawing, or in a nature journal. Young children (ages 4–6) do well with oral narration and simple diagram labeling. Older children (ages 8–12) benefit from written narration, where they describe what happened in their own words. This practice builds science vocabulary, observation skills, and the ability to communicate findings, all at once.
What Are the Best Seeds for Children to Grow?
The best seeds for children are fast-germinating varieties that produce visible results within a week, keeping enthusiasm high. Sunflowers, beans, peas, and radishes are consistently the most rewarding for young children.
Sunflowers are large, easy to handle, and sprout within 7–10 days. The seeds are big enough for small hands to plant, and the mature plant grows dramatically tall, which children find thrilling.
Beans (especially pole beans or lima beans) are the classic choice for germination experiments because the seed coat peels away easily after soaking, letting children see the embryo inside. They also germinate visibly against glass in a zip-lock bag experiment.
Peas grow quickly in cool spring weather and climb a trellis, giving children a structure to observe and interact with daily.
Radishes are the fastest of all, often germinating in 3–5 days and reaching maturity in about 30 days. These are excellent for families who want to observe the complete cycle from seed to seed production in a short time frame.
Our Gardening Activity Book ($10) includes planting guides, observation pages, and garden planning sheets that complement whichever seeds you choose to grow. It's a resource your family will reach for all spring and summer long.
A Step-by-Step Seed Germination Experiment for Homeschool Families
This experiment is the cornerstone of any plant life cycle unit. It requires no garden, no special equipment, and produces visible results within days. Here's how to run it successfully.
Step 1: Gather Your Materials
You'll need three or four dried bean seeds (lima beans or kidney beans work well), one clear zip-lock bag, a few sheets of damp paper towel, water, and a sunny window. Optionally, prepare a simple observation journal or printed recording sheet where your child can sketch what they see each day.
Step 2: Soak the Seeds Overnight
Place the bean seeds in a small bowl of room-temperature water and leave them overnight, about 8–12 hours. Soaking softens the seed coat and speeds germination. Before you go to bed, invite your child to examine the dry seeds closely: their size, color, texture, and shape. This gives a baseline for comparison the next morning.
Step 3: Set Up the Germination Bag
The next morning, fold the damp paper towel so it fits inside the zip-lock bag as a thick pad. Place the soaked seeds between the paper towel and one side of the bag so they're visible from the outside. Seal the bag and tape it to a sunny window, transparent side facing outward. The paper towel should remain damp but not dripping.
Step 4: Observe Daily
Check the bag together each morning. Encourage your child to look for the radicle (the first root) emerging from the seed. This typically appears within 2–4 days. Sketch or photograph the changes each day. Ask open questions: "What do you notice today that wasn't there yesterday?" and "Where do you think the root is going?"
Step 5: Record and Label
Once the radicle appears and a small shoot begins to form, have your child draw and label what they see, using vocabulary such as seed coat, radicle, shoot, and embryo. For younger children, you can provide a pre-labeled diagram to color and match to their real observation. For older children, encourage them to write a short narration describing the changes they observed over several days.
Step 6: Transfer to Soil
When the shoot is about one inch tall, transfer the seedling to a small pot of moistened soil. Plant it with the root pointing down, cover lightly, and water gently. Place the pot in a sunny window or outdoors once temperatures are consistently warm. Continue recording observations as the seedling grows its first true leaves.
Step 7: Complete the Cycle
As the plant matures, continue observations through flowering (if your bean plant blooms) and pod formation. When the pod dries, open it to find the seeds inside. Hold one up next to your original bean seed from the beginning of the experiment. This is the full circle, and children never forget the moment they see it.
The Plants Life Cycle Series ($12) includes recording sheets, vocabulary cards, and life cycle wheel activities that slot directly into this experiment sequence.

What Is a Fun Way to Learn About Plant Life Cycles?
Beyond the germination experiment, there are several activities that bring the plant life cycle to life in ways children remember for years.
Dandelion study: Dandelions are one of the most accessible and instructive plants for observing multiple life cycle stages at once. In a single backyard or park, you can find seeds, germinating seedlings, flowering plants, and seed heads all at the same time. Our Dandelion Discovery Kit ($4.95) is a beautiful, affordable way to turn a common "weed" into a complete nature study.
Seed dispersal role play: Have your child act out different methods of seed dispersal. They can spin like a maple samara (wind dispersal), stick a small piece of hook-and-loop fabric to their clothing (animal dispersal), or drop straight down from a chair (gravity dispersal). This kinesthetic approach makes the concept unforgettable for young children.
Pressed flower journal: As plants reach maturity, collect flowers and leaves to press between heavy books. Once dried, these can be glued into a nature journal with labels and notes. Our Spring Activity Book ($7.50) includes seasonal nature journaling pages that pair perfectly with a pressed flower collection.
Life cycle wheel: A cut-and-assemble spinning wheel that shows each stage of the plant life cycle in sequence is one of those simple crafts children return to again and again. It also works beautifully as a narration tool: spin to a stage and describe what's happening.
For families who want to extend the plant study into the summer months, our companion post on Gardening with Children in Your Homeschool covers raised bed gardening, seed saving, and kitchen garden activities that build naturally from this unit.
Homeschool Mom Review
"We've done a lot of science units over the years, but the Plants Life Cycle Series is one I'll keep coming back to. My 6-year-old used the vocabulary cards and wheel every single day, and my 10-year-old loved the narration pages. Everything is so clearly laid out, and the illustrations are genuinely beautiful. It felt like a complete curriculum, not just a worksheet packet."
— Sarah M., homeschool mother of four
Frequently Asked Questions
What are the 5 stages of the plant life cycle?
The five stages of the plant life cycle are seed, germination, seedling, mature plant, and pollination with seed dispersal. A seed contains the dormant embryo of the plant. Germination occurs when the seed receives water, oxygen, and warmth, causing the root and shoot to emerge. The seedling stage begins when the plant breaks through the soil and starts photosynthesizing. The mature plant develops full leaves, a stem, and eventually flowers. Finally, pollination leads to seed production, and those seeds disperse to begin the cycle again.
How do you teach plant life cycle to children?
The most effective approach is to combine observation, narration, and a hands-on experiment. Start with a simple read-aloud or illustrated overview, then run a seed germination experiment so children can observe each stage in real time. Encourage daily sketching and narration alongside the experiment. Younger children benefit from verbal narration and diagram labeling; older children can write descriptions and build vocabulary. The key is to pace the learning alongside an actual growing plant so each concept connects to something your child can see and touch.
What is a fun way to learn about plant life cycles?
A clear zip-lock bag germination experiment is one of the most engaging activities for children of all ages because it makes the underground process completely visible. Dandelion studies are also wonderfully accessible because you can observe multiple life cycle stages at once in any yard or park. Role-playing seed dispersal methods, building a life cycle wheel craft, and maintaining a pressed flower journal are all activities that make the learning meaningful and memorable without requiring any special equipment.
What seeds are best for children to grow?
Sunflowers, beans, peas, and radishes are the best seeds for children because they germinate quickly and produce visible results within a week. Beans are ideal for a zip-lock bag germination experiment because the seed coat peels back easily after soaking, allowing children to see the embryo inside. Sunflowers are easy to handle due to their large size and grow dramatically tall, which young children find exciting. Radishes are the fastest option, often germinating in 3–5 days and completing their full life cycle in about 30 days.
Bringing It All Together
Teaching plant life cycles in your homeschool is one of those units that leaves a lasting impression, not because it's complicated, but because it's real. Your child plants a seed, watches it wake up, tends to a seedling, and eventually holds a new seed in their hand. That full circle of observation is the kind of meaningful learning that sticks.
With the right materials alongside you, this unit almost teaches itself. The Plants Life Cycle Series ($12) gives you everything you need in one place, from vocabulary cards and life cycle wheels to narration pages and observation sheets, all designed with intention for the home classroom. Pair it with your germination experiment, a few dandelion walks, and your family's own garden, and you'll have a botany unit your little one will talk about for years.
You're doing something beautiful. Keep growing.